The Moto: DIWYK (Do It With Your Kids)
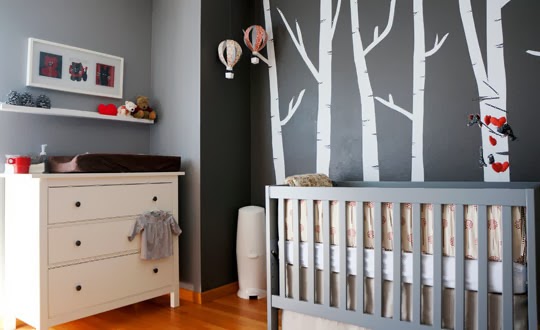
Creative ways to decorate your kids bedrooms are becoming more and more exciting and are moving rapidly away from the traditional 'lick of paint' approach. In a previous post we talked about the new trend of the grey nursery, which we love! But we thought we'd have a look at ideas for older kids, and ones which they can get involved in. The one we found which we fell in love with is the one we're going to talk about today: origami butterflies. The paper design makes for simple, elegant yet fun wall art. If you wish, you could order a set of cotton butterflies from somewhere like Etsy, but we think there's a better option: DIWYK.

These are the reasons we like it so much 1. it looks great and can be made to match any colour scheme, 2. you can do it yourself and the kids can get involved to help decorate their own rooms, and 3. it's a fraction of the price.
So, here is a step by step guide to creating your own origami butterfly:
First choose your paper and your colour scheme. Then cut the paper into different sized squares. Remember to keep those edges as straight as possible!
 |
Then all your squares should look something like this.

Once done they should all look a little like this.

Then secure each butterfly to the wall - we used drawing pins. We turned them upside down to make it easier for securing and we also layered some of them up to give a 2-tone effect.
And voilà!

Top Tips:
- Make sure you use strong paper, or else it can easily rip.
- Have a couple of practice goes with scrap paper so you understand the process fully before sharing it with the kids.
- The smaller the square at the start, the harder it is to fold - so maybe let the kids try it with the bigger ones first.
- Make sure you press hard on the creases so that they don't crumple.
- And finally, have fun!
Have a go at making some of these at home. We'd love to see your efforts, so send us your pictures or tag us in them on Facebook!! Hope you love it as much as we do!
The Hooded Towel
The Hooded Towel